Which lighting coordinates must be fixed before the walls and ceilings close? Resolve the bed, joinery, fixture, switching, and outlet positions first, then issue a dimensioned electrical brief. Moving concealed wiring after plastering or fitted furniture arrives costs more and may still leave glare, obstructed controls, or mismatched equipment.
What must be fixed before a bedroom lighting plan can be drawn?
Fix the room geometry, bed, headboard, bedside furniture, door swings, wardrobe elevations, ceiling construction, reading positions, user needs, and applicable electrical requirements before drawing lighting points.
The bed and joinery plan should control the electrical plan
Locate points from finished walls, finished floor, and the bed centerline. Allow for skirting, wall panels, upholstery, joinery backing, and furniture tolerances. First, confirm the bedroom furniture plan and circulation clearances.

What must be fixed before a bedroom lighting plan can be drawn shown as an editorial planning reference.
Which bedroom decisions can remain flexible until after rough-in?
| Verify before layout | May remain finish-stage |
|---|---|
| Bed, headboard, tables, doors, wardrobe elevations, ceiling conditions, mirrors, curtains, and user reach | Artwork, shades, decorative accessories, and surface finishes |
| Circuits, controls, outlets, supports, cable routes, drivers, access, jurisdiction, and code edition | Replaceable fixtures where mounting, ratings, dimensions, and compatibility are already fixed |
These coordinates provide the base for assigning distinct lighting layers.
A bedroom needs separate ambient, bedside, wardrobe, and task lighting layers
Assign ambient, bedside, wardrobe, and task lighting according to the activity and illuminated surface, not fixture count alone.
How should bedroom lighting layers be assigned to specific activities?
Identify each working plane, such as a book page, wardrobe rail, mirror, desk, or floor. The IES Illuminance Selector helps practitioners apply IES and ANSI recommendations, but it does not provide one universal target for every bedroom.
| Layer | Activity | Control point | Principal glare or shadow risk |
|---|---|---|---|
| Ambient | Circulation and cleaning | Door and bed | Visible ceiling sources |
| Bedside | Reading | Each sleeper | Light crossing the bed |
| Wardrobe | Selecting clothes | Wardrobe approach | Door and body shadows |
| Task | Desk work or grooming | At the task | Screen and mirror reflections |
One central ceiling light is not a complete bedroom lighting plan
A central luminaire may provide ambient light when its output, distribution, shielding, support, drop, and clearances suit the room. It rarely illuminates wardrobe and mirror surfaces adequately by itself. If qualified LED products are appropriate, ENERGY STAR reports at least 75 percent lower energy use than incandescent lighting. The next decision is where bedside equipment belongs.
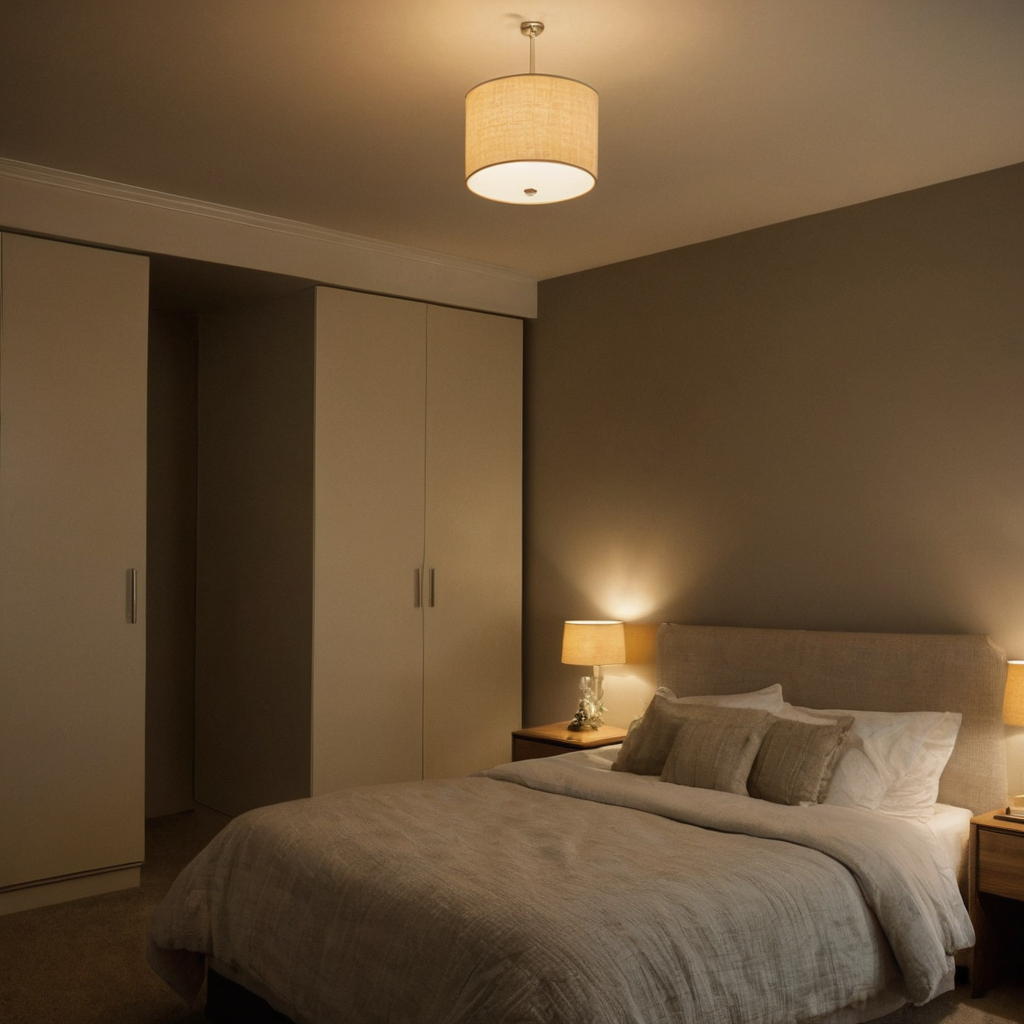
A bedroom needs separate ambient, bedside, wardrobe, and task lighting layers shown with practical context cues.
Where should bedside lights, switches, and outlets be placed?
Dimension bedside electrical points from the confirmed mattress, headboard, tables, and reading positions, never from the apparent center of an unfinished wall.
Bedside wall lights should be located from the reading plane
- Record the finished wall, finished floor, bed centerline, mattress height, headboard edge, and table dimensions.
- Mark each occupant’s seated and reclined reading position, handedness, and preferred side.
- Mock up the actual fitting at full scale. Test arm reach, adjustment, beam distribution, dimming, and source visibility while both occupants are in position.
- Coordinate the junction box with the backplate drawing. Check pillows, curtains, artwork, headboard edges, and open drawers.
Reject universal mounting heights. The correct coordinate depends on the user, furniture, shade geometry, fixture instructions, and photometric distribution.
Bedside pendants require early ceiling and furniture coordination
- Confirm canopy size, junction-box location, structural support, suspension method, final drop, shade diameter, and maintenance access.
- Test clearance during bed making and cleaning. Allow adjustment only where the selected fitting permits it.
Bedside controls should work from both the doorway and the bed
- Provide independent sleeper controls where one person may read while the other sleeps.
- Keep switches, outlets, and charging points reachable and outside drawer paths. Confirm charging output and replaceability.
- Have the electrician verify multi-location switching and local requirements. Accessible projects may need the 30 by 48 inch clear floor space specified by the 2010 ADA Standards.
North Carolina projects need edition-specific review. The state electrical code page identifies the 2020 NEC with state amendments, dwelling exclusions, and an indefinitely delayed proposed 2023 code. Once bedside coordinates are fixed, test ceiling and joinery positions.
How should ceiling, wardrobe, desk, and dressing lights be positioned?
Position ceiling and task lights according to the surfaces they illuminate and the shadows occupants, furniture, and doors create.
Wardrobe lighting should illuminate vertical storage without creating door shadows
Wardrobe elevations should show shelves, rails, door movement, LED channels, diffusers, sensors, cable routes, and an accessible driver. Test hinged, sliding, bifold, and pocket doors in open and closed positions. Check product requirements for heat management, enclosure, mounting, and combustible clearances.
Desk and dressing lights should control screen and mirror glare
| Area | Placement test | Principal risk |
|---|---|---|
| Desk | Check monitor, writing hand, windows, shielding, and adjustment. | Reflections or hand shadows |
| Mirror | Check facial illumination, mirror height, and visible sources. | Facial shadows or glare |
| Ceiling | Overlay joists, ducts, pipes, slopes, and access zones. | Blocked housings or misplaced beams |
Lights used at different times now need appropriate control separation.
Bedroom circuits and controls should separate functions that are used differently
Separate lighting loads according to when they operate, how they dim, and who controls them. A licensed electrician should confirm connected loads, conductors, protective devices, boxes, cable routes, and installation methods before rough-in.
Which bedroom lighting loads should have independent controls?
| Zone | Suggested control |
|---|---|
| Ambient | Dim from doorway and bed |
| Bedside left and right | Independent sleeper controls |
| Wardrobe | Separate switch or door sensor |
| Desk, dressing, and night light | Separate where operating times differ |
Smart bedroom lighting still needs a reliable manual control path
Specify offline operation, outage recovery, hub dependence, neutral and minimum-load requirements, protocol compatibility, and a wall-operated fallback.
Adjacent bathrooms and wet areas change bedroom electrical coordination
Dimension equipment against ensuite wet-area boundaries. The electrician must verify protective measures, placement restrictions, and damp-location ratings under the locally adopted code. The next procurement step is confirming that every system component works together.
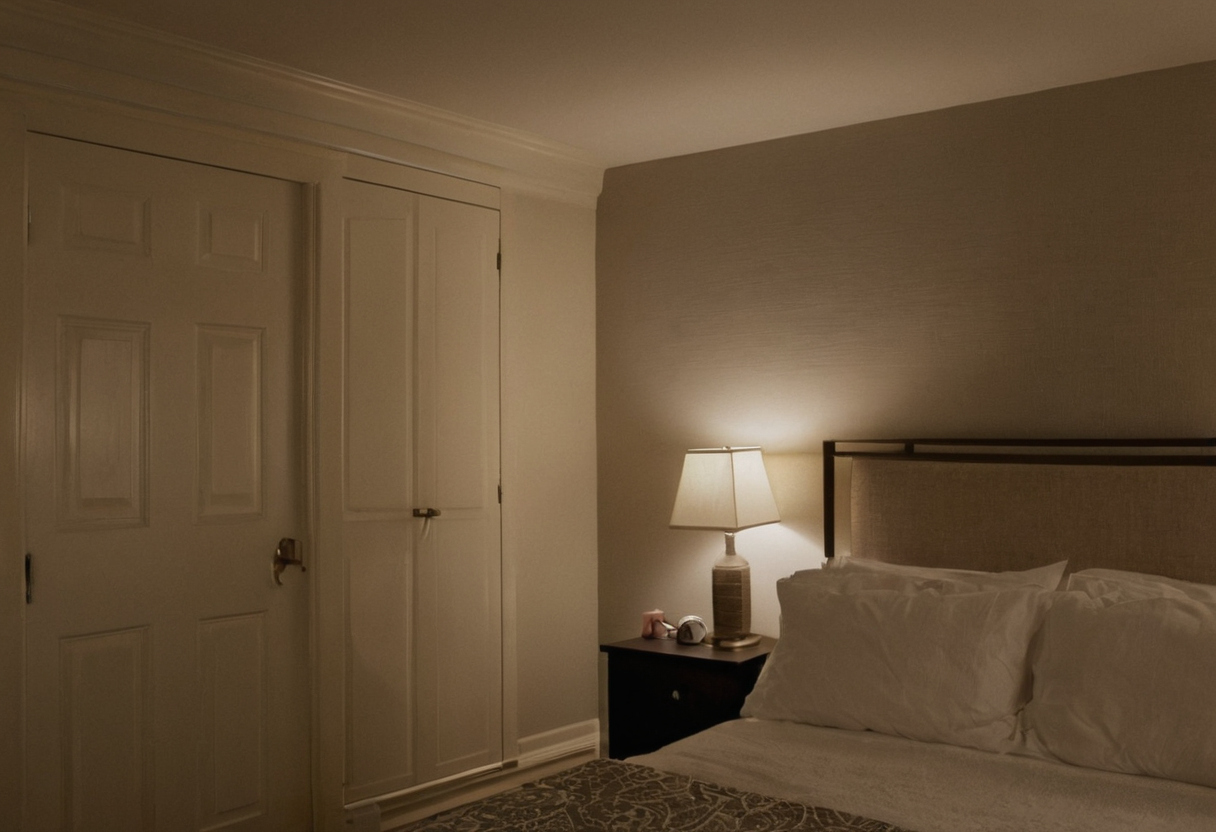
Bedroom circuits and controls should separate functions that are used differently shown with practical context cues.
Bedroom luminaires, lamps, drivers, and dimmers must be specified as one system
A dimmable label does not establish compatibility. Verify exact model numbers for the luminaire, lamp or LED module, driver, dimmer, sensor, and smart control before ordering.
| Pass | Verify | Reject |
|---|---|---|
| Written compatibility and service access | Photometry, shielding, color data, warranty, and lead time | Unconfirmed substitutions or inaccessible drivers |
| Stable operation across the required range | Startup, low-end dimming, flicker, noise, and multi-location control | Buzzing, flashing, dropout, or source glare |
What light color and color quality suit a bedroom at night?
Specify intensity, timing, spectrum, and exposure duration rather than relying on color temperature alone. Review fidelity and spectral data using appropriate IES standards tools, particularly where skin, timber, paint, textiles, or artwork require accurate rendering.
A full-scale lighting mock-up can expose glare, flicker, and placement errors
Test one safely mounted fixture at night with curtains and representative finishes present. Check the reading plane, reflections, shadows, dimming, noise, and control reach. Record the result before signing the final schedule.
A signed bedroom lighting schedule should be completed before electrical rough-in
The final stage gate is one approved revision containing dimensioned plans, ceiling and joinery elevations, circuit and control matrices, fixture schedules, and unresolved items.
What should the electrician receive before starting bedroom rough-in?
- Drawing scale, symbols, finished-dimension references, revision number, and approval date
- Exact fixture, driver, dimmer, control, bed, and joinery references
- Responsibilities for procurement, compliance, installation, programming, inspection, and commissioning
- Lead times, substitution rules, change procedures, and pre-closure photographs
Which bedroom lighting decisions are most expensive to change later?
Prioritize concealed-work risks: moved beds, larger headboards, ceiling obstructions, inaccessible drivers, added control wiring, unavailable housings, incompatible dimmers, and changed joinery. Approve the coordinates before closure, then test switching, dimming, sensors, manual overrides, and bedside reach before handover.

A signed bedroom lighting schedule should be completed before electrical rough-in shown as an editorial planning reference.
Bedroom lighting planning FAQ
How do you prepare a bedroom lighting layout plan before electrical rough-in?
Fix the furniture and joinery plan, assign lighting layers, dimension every point from finished references, confirm products and controls, then issue one coordinated schedule.



0 Comments